Hello interwebz,
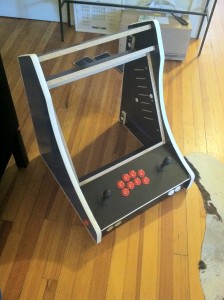
So, here is where the arcade machine is now. Â I think it’s starting to look really good!
All the buttons are in, the cabinet is painted and (mostly) assembled. Â And now it’s time to get the electronics into it!
 Here’s the computer I’ll be using. Â I built this computer about 2 years and it’s been used as a 1)PC Gaming rig, 2) Windows Media Center, 3) Windows Home Server and now 4) Arcade machine.
This computer is a 2.4GhZ Intel Core 2 Duo (or something like that). Â It’s *plenty* fast enough to do what we are doing here.
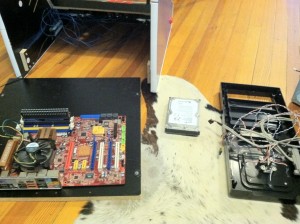 Here’s the start. Â The mainboard is mounted into the arcade machine. Â I used plastic mounts that screwed into the wood so the mainboard didn’t sit directly on the wood.
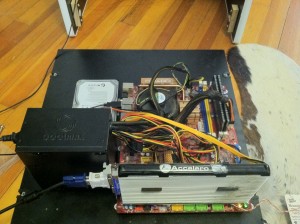 I then installed the power supply, the graphics card and the hard drive. Â I wired everything up and got it to power on.
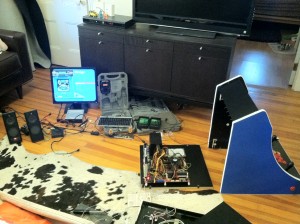 This mess has been in the living room for at least a week. Â I really don’t know how my wife tolerates my ‘shenanigans.’
Here you can see the computer mounted in the arcade cabinet, running out to the TV, with the speakers on the left. Â At the bottom of the picture you can see there’s still a wire connecting the case to the mounted computer. Â That wire is to turn the power on and off. Â Later that wire will be connected to a red arcade button mounted on the back of the unit. Â To turn on and off the unit, all you need to do is press the button and voila! Â Arcade GOLD!
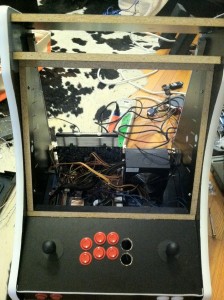 Now all we have to do is stitch this thing together. Â In this picture, the computer is getting screwed into the whole cabinet.
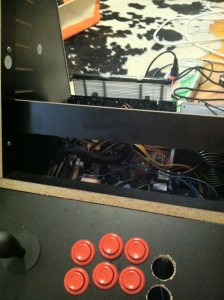 And now it’s time to install the monitor. Â I installed two bars that go from left to right in the cabinet. Â You can see the first black bar here above the control panel. Â These two bars will prevent the monitor from falling inside the machine. Â The monitor will be installed from the front and then covered with plexiglass that I will screw into the cabinet. Â Once I do that, that monitor’s not going anywhere!
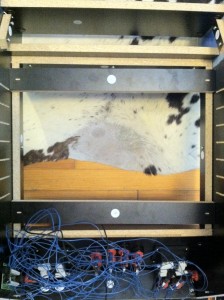 Here are the two bars fully screwed into the cabinet. Â You can also see all the buttons and joysticks wired up. Â The buttons were a bit of a pain, because each connector was a little too big so they were loose and kept sliding off their contact points (thus making the button useless). Â I went in with a pair of pliers and crimped each connection so we wouldn’t have a problem with lost connections.
We are getting really close to having a finished cabinet here. Â From here on out it’s mostly a game of tetris trying to figure out how to get everything into the arcade cabinet.
Thanks for reading!
Robert.
